How to Steam Milk
- Introduction
- What is steamed milk?
- Why do you need to steam milk for a coffee?
- What equipment do I need to steam milk?
- Brewing Equipment
- What’s the best milk to use for steamed milk?
- Recommended milk temperature for steamed milk
- Step-by-step guide: How to steam milk
- How to pour steamed milk
- Micro-foam: How to achieve the desired texture
- Timing techniques to prevent over-steaming
- FAQs
Introduction
If you’ve ever watched a barista make your coffee order, you’ll have noticed that steaming milk is a crucial part of the coffee process. From creating beautifully crafted latte art to a delicious texture and consistency, and a pleasing temperature, steamed milk adds a lot to the coffee experience. If you’re keen to learn how to steam milk at home, then this guide will walk you through the essentials – from the science to the skills – so you can recreate the full coffee shop experience with your own brewing ritual.
What is steamed milk?
Steamed milk is milk that has been heated using pressurised steam. Unlike frothed milk, which can be made with hot or cold milk, steamed milk is always milk (or a dairy alternative) that has been exposed to heat as part of the process.

Why do you need to steam milk for a coffee?
If you’re looking to recreate one of your favourite coffee shop brews at home, then steaming milk is key for making many of the most popular coffee choices, including flat whites, lattes, and cappuccinos. If you enjoy milk with your perfect brewed cup of speciality coffee, then simply adding a splash of cold milk will diminish many of those lovely, characterful flavours found in your cup. Done right, steamed milk can enhance the perception of sweetness, and lift some of those tasting notes found in coffee—as well as keep your hot drink at an enjoyable drinking temperature. And then there’s the craft of latte art. While there’s more to steamed milk than creating those barista-worthy tulips and rosettas, the texture of steamed milk makes good latte art possible.
What equipment do I need to steam milk?
If you want to steam milk at home for your coffee, there are a few pieces of coffee brewing equipment that will make the process simple, helping you get the perfect steamed milk temperature, texture, and taste every time. Here’s what you’ll need to start steaming milk at home.

Brewing Equipment
While many professional baristas can attest the steamed milk temperature is just right, simply through touching the milk pitcher – a skill picked up through plenty of practice – many still prefer to make sure they’ve hit the sweet spot for their steamed milk by using a thermometer, avoiding scalded hands. When brewing a quality cup of coffee, care is taken to make sure the water temperature is just right: making sure the steamed milk temperature is right is just as important. A thermometer is a handy and inexpensive barista accessory that will ensure you can focus on placing your steam wand in the right position to let enough air in until your steamed milk reaches the right temperature. Too low a temperature will mean your steamed milk is lacking in texture and flavour; too high, and your milk will be burnt, and taste poor.
Steam wand
If you’re lucky enough to own a home espresso coffee machine then you’ll have already noticed, or maybe even tested out the steam wand that is built into the design. Just as the name suggests, it’s this smart tool that enables you to create steamed milk.
This stainless-steel arm is often found to one side of the coffee machine, fixed in with mobility that allows you to angle the wand when you’re ready to steam your milk. The steam wand works by turning a dial or pressing a button on the machine to start the process of steaming. This is done by releasing pressurised steam from the boiler of your coffee machine, through the steam wand, which has one large hole, or several tiny holes at the nozzle end, depending on your machine model.
If you don’t have a home espresso machine, or one with a steam wand, you can look to buy a stand-alone steam wand, or even consider alternative methods of steaming your milk at home.
Thermometer
While many professional baristas can attest the steamed milk temperature is just right, simply through touching the milk pitcher – a skill picked up through plenty of practice – many still prefer to make sure they’ve hit the sweet spot for their steamed milk by using a thermometer, avoiding scalded hands.
When brewing a quality cup of coffee, care is taken to make sure the water temperature is just right: making sure the steamed milk temperature is right is just as important. A thermometer is a handy and inexpensive barista accessory that will ensure you can focus on placing your steam wand in the right position to let enough air in until your steamed milk reaches the right temperature. Too low a temperature will mean your steamed milk is lacking in texture and flavour; too high, and your milk will be burnt, and taste poor.
Pitcher
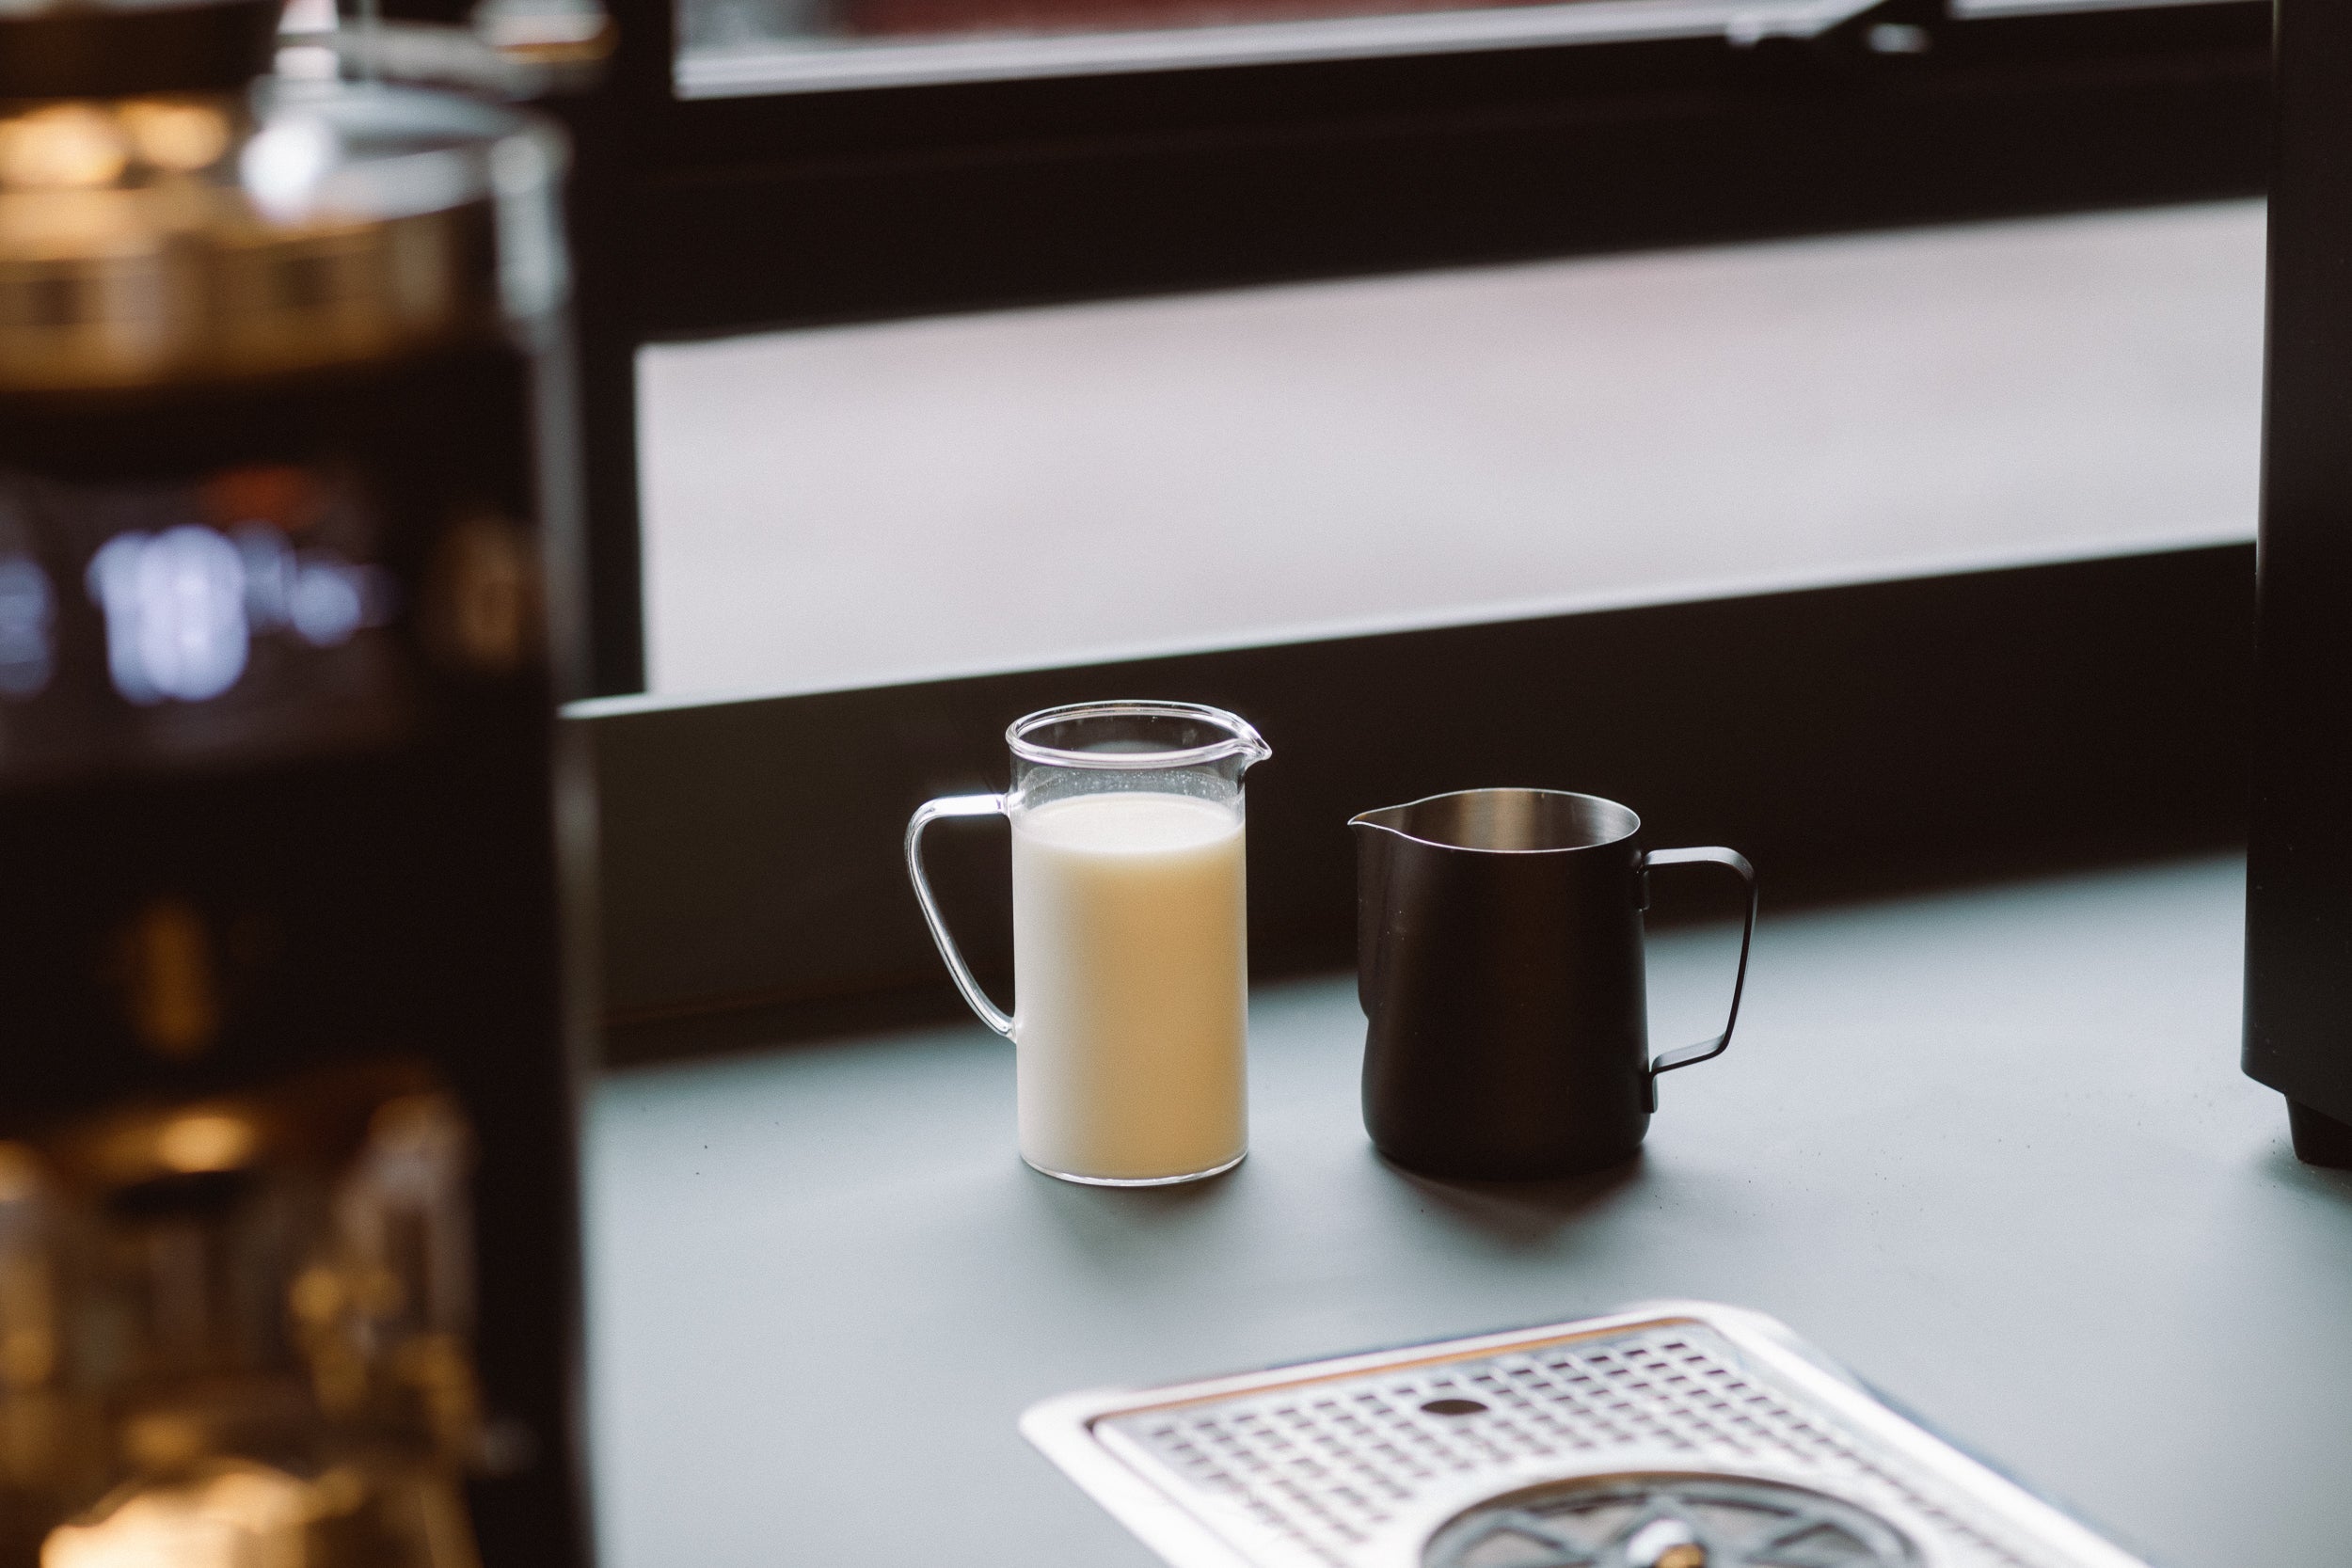
If your home espresso coffee machine didn’t come with a milk pitcher, then this barista accessory is essential on your shopping list. A quality pitcher won’t just making the process of steaming milk easy but will make pouring your milk a lot more professional too, especially if you’re hoping to practice your latte art skills.
A pitcher for steaming milk should be made of quality stainless-steel, as this will keep your temperature consistent. Most milk pitchers designed for steaming milk for coffee come in two standard sizes: 12oz, and 20oz. The larger size is commonly used in coffee shops where the barista is making multiple coffees, and can split the steamed milk, meaning your order of four flat whites to takeaway can be brewed, poured, and served much quicker.
If you’re keen to practice your latte art, then you might want to consider a pitcher with a thinner spout for precision pouring—but most pitchers that come as standard with your home coffee machine will still enable you to practice quality pours. Most pitchers come with a handle to help minimise fingers and palms getting burnt, though some people find it more comfortable to hold and pour without the use of the handle: it’s all down to the individual here.
What’s the best milk to use for steamed milk?
Speciality coffee is all about quality, so you’ll want to choose quality ingredients to complement your cup. If you enjoy traditional dairy milk, look for high-quality producers; Origin Coffee partners with The Estate Dairy in London, and Trink Dairy in the South West. Whole milk is preferred by many baristas, as its balance of fats, proteins, sugars, and water creates a smooth micro-foam when heated; skimmed milk will still create a foam, but it can be harder to pour presentable latte art and can be less flavourful.
If you follow a dairy-free diet, or just prefer alternative milks, there are plenty to choose from, with some plant-based milks even offering versions specifically created with baristas in mind, promising better consistency for micro-foam. Oat milk tends to the most popular choice for many coffee shops: this is because it offers the same creamy, sweet taste as traditional milk without overpowering the tasting notes in coffee; oat milk reacts well when heated too, and creates a smooth micro-foam, perfect for creating latte art. The best milk for steamed milk is all down to your personal preferences: enjoy exploring taste, texture, and latte art ease when steaming milk at home, so you can find the best milk choice for you.

Recommended milk temperature for steamed milk
We all know the disappointment of a not-hot flat white as much as the grimace of a scalding latte, but getting the steamed milk temperature right for your coffee isn’t just about the sensation of the heat itself, but how it affects the texture and appearance, as well as the taste.
If the temperature of the steamed milk doesn’t reach high enough, the foam will be thin and break down easily; if the steamed milk temperature is too high, there will be no foam at all, and the taste and smell will be unpleasant. The Speciality Coffee Association (SCA) recommends a temperature range between 55c-65c. Whether you’re looking to steam milk for a latte, cappuccino, or flat white, the temperature shouldn’t go above 70c, as this is when milk begins to burn, break down and, as a result, taste poor, negatively impacting the coffee flavours.

Step-by-step guide: How to steam milk
With your milk of choice at the ready, along with your brewing equipment, you’re ready to steam milk. Here’s a step-by-step guide of how to steam milk for your coffee.
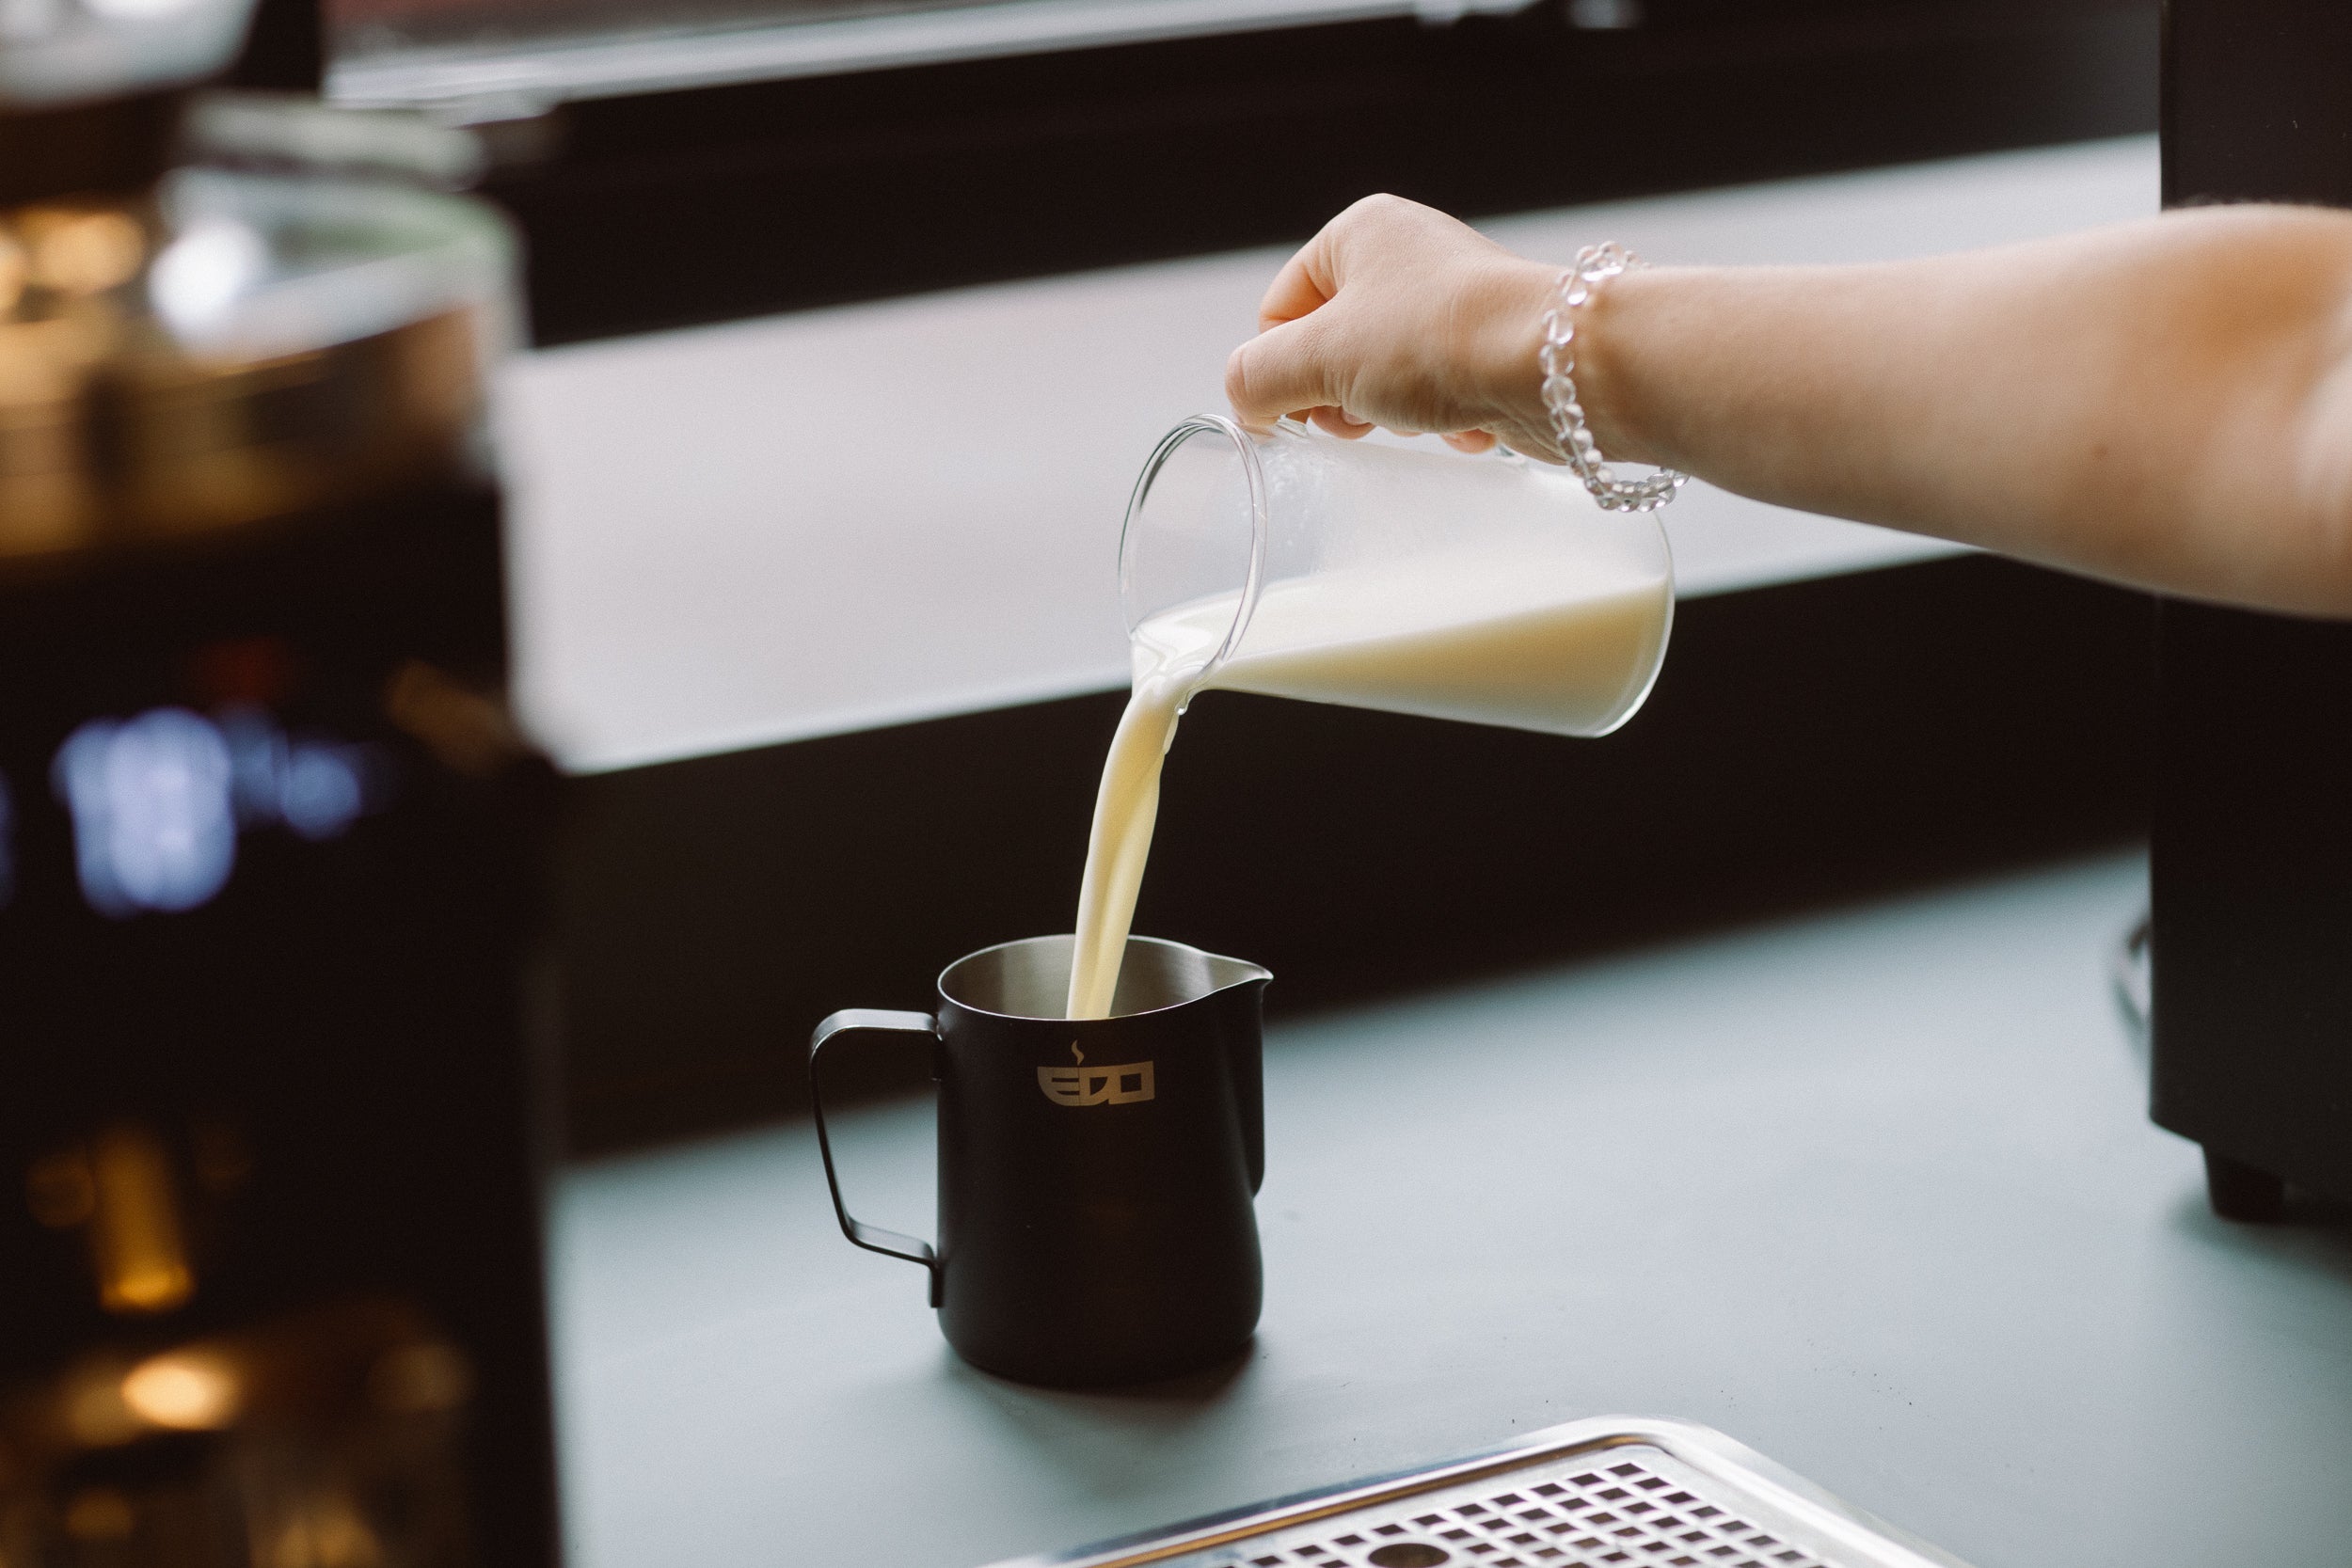
- Start by pouring fresh, cold, quality milk (or your dairy alternative) into your clean milk pitcher. Pour the milk to the bottom ‘v’ of the spout. You want to leave enough room for the milk to expand and not spill over the pitcher when steaming.
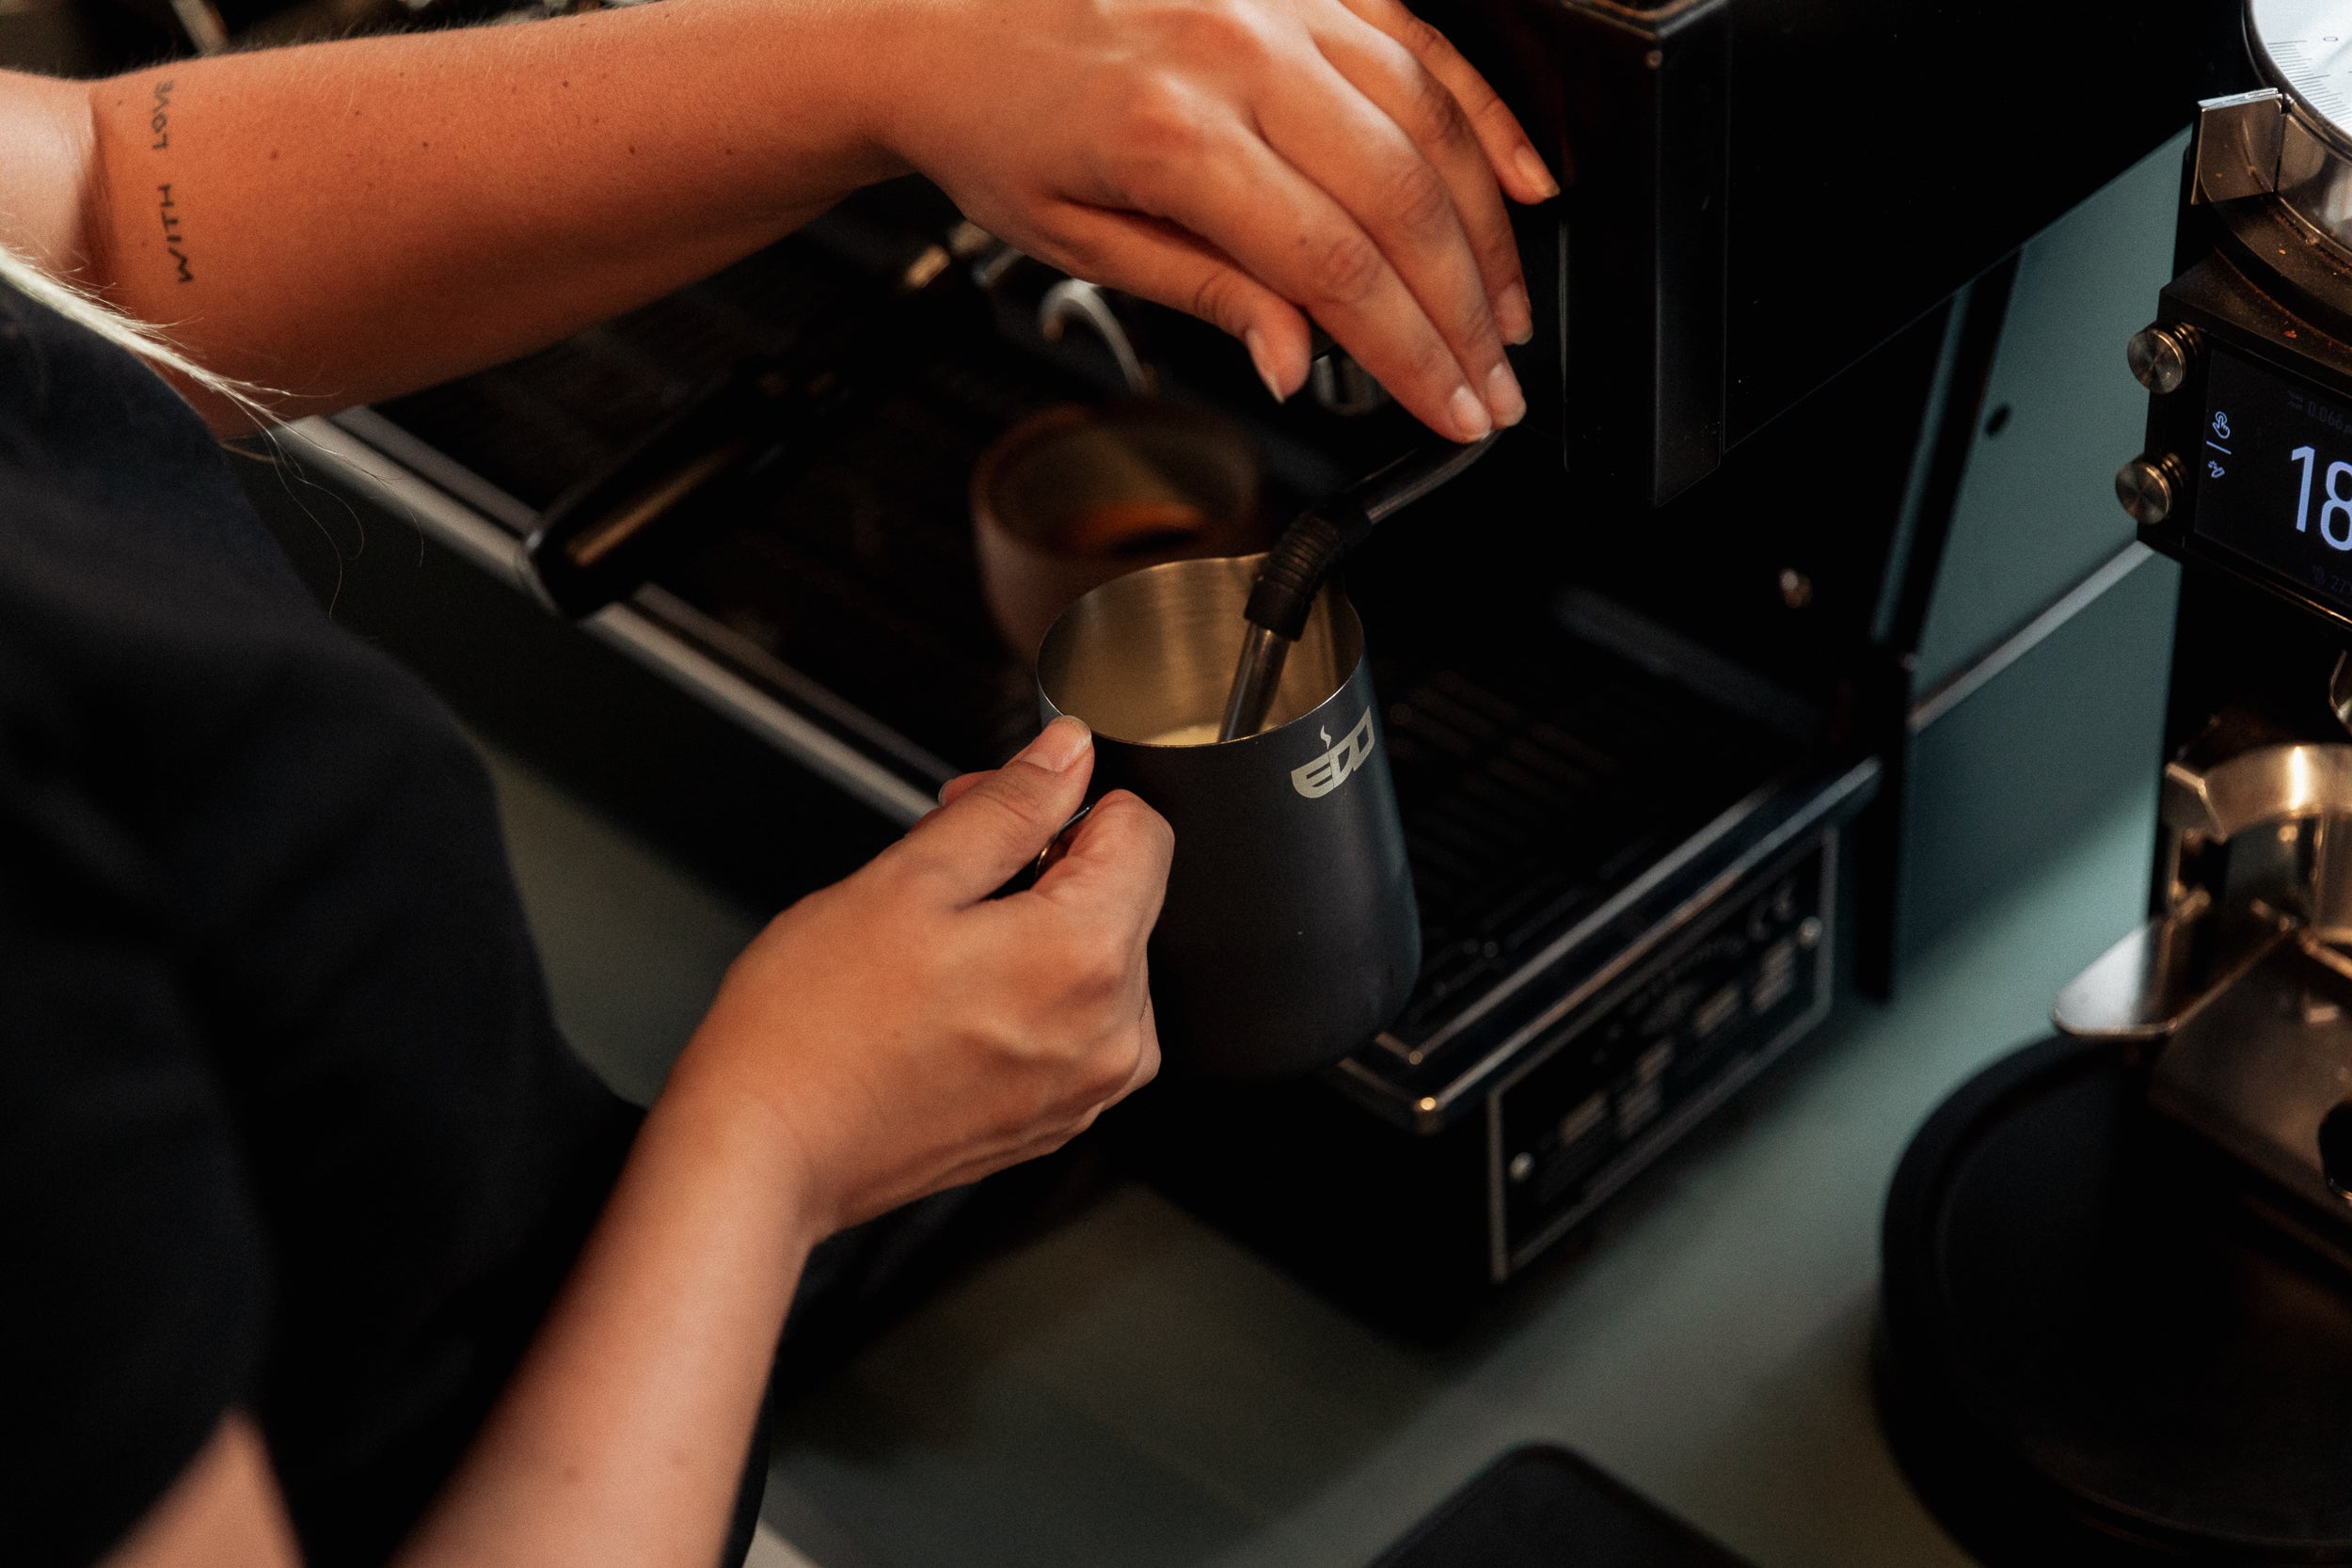
- Purge your steam wand, briefly turning it on and off again, then place the nozzle of the steam wand just below the surface of the milk in the pitcher, with the steam wand resting against the spout. Consider what type of coffee drink you will be making, as the next step of steaming your milk will depend on how much micro-foam you’re looking to create.
- Turn the steam wand back on and listen for a hissing sound. This stage of steaming is for ‘stretching’ your milk, letting air in to create micro-foam: the amount of time you do this for will depend on how much micro-foam you need to make: only a few seconds is needed for a flat white; a little longer for a latte, and longer (up to ten seconds) for a cappuccino.
- When ready, move the angle of the pitcher a fraction, so that the nozzle of the steam wand is submerged, off centre, at a tilt. Here, you’re looking for a whirlpool motion with your milk, and no hissing sound. Keep an eye on the steamed milk temperature, gauging either by touch, when the pitcher feels hot, or by using your thermometer.
- Turn off the steam wand when your milk reaches the desired temperature, removing the milk pitcher. Be sure to purge the steam wand again and wipe clean with a damp cloth.
- Gently tap the pitcher on the countertop to disperse any bubbles, give the pitcher a gentle swirl, and you’re now ready to pour.
How to pour steamed milk
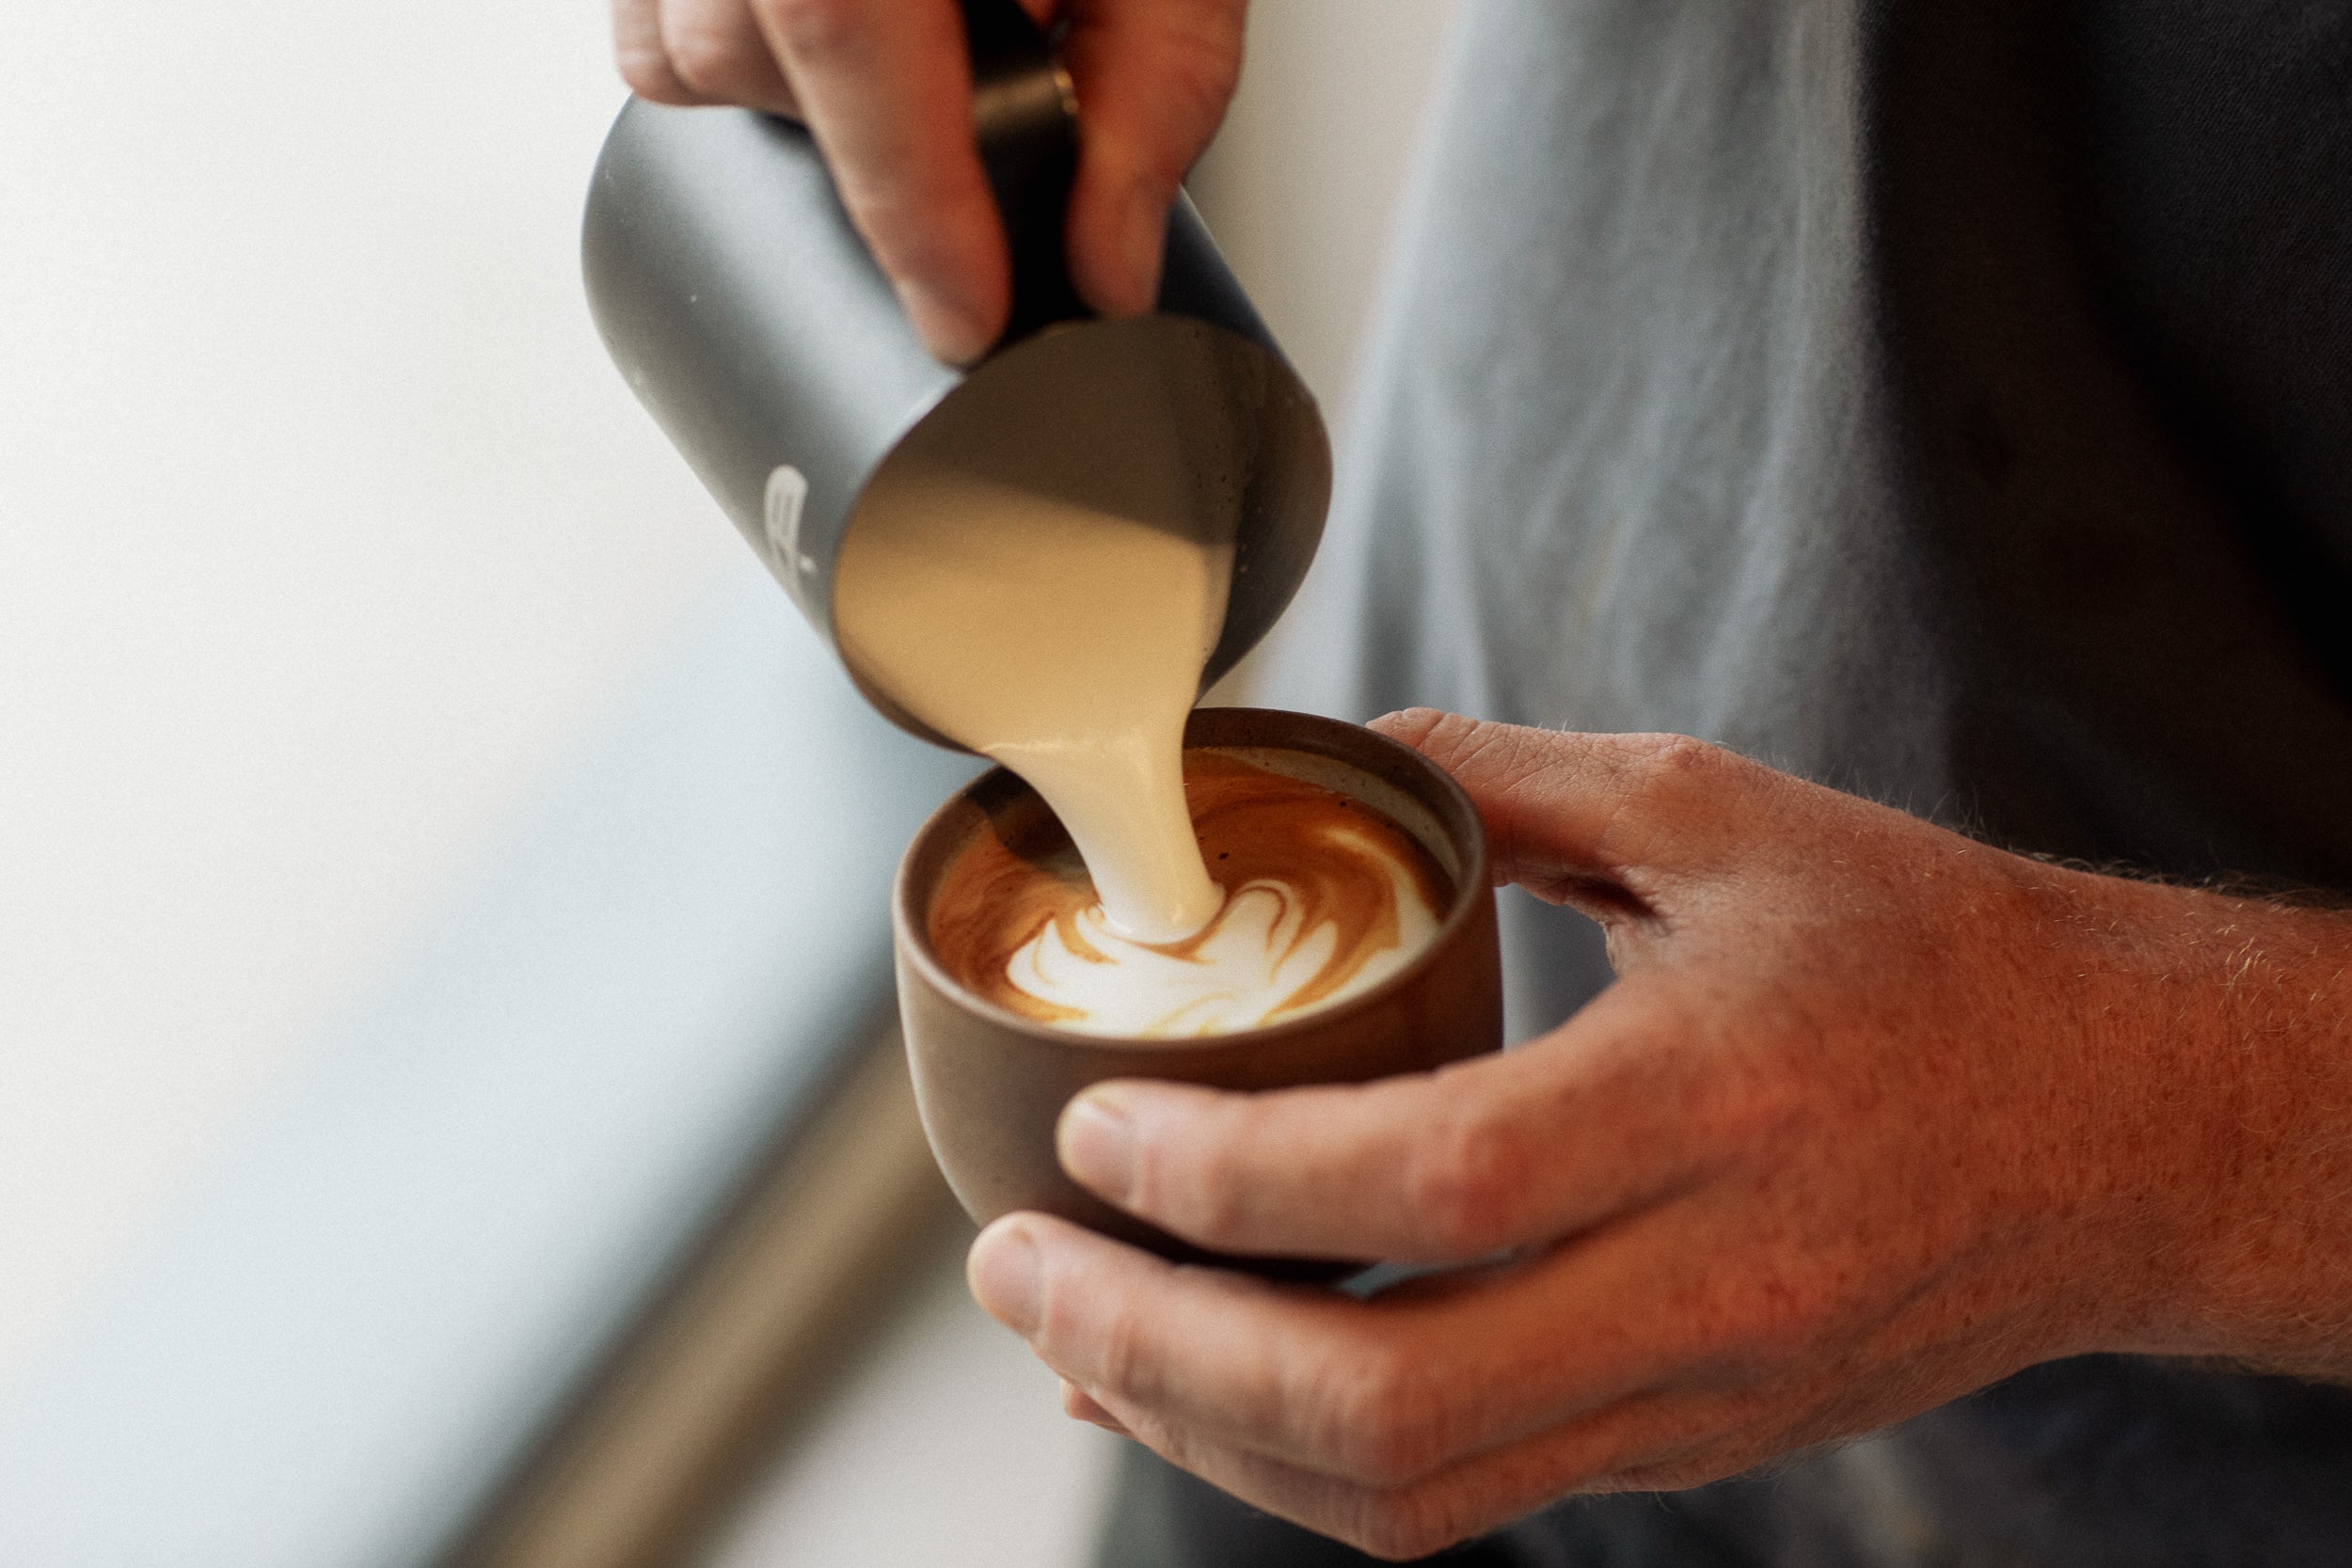
Perfecting your steamed milk pour takes practice if you’re looking to master latte art, but there are a few simple techniques that will provide you with a strong foundation to work from.
When you’ve steamed your milk and you’re ready to pour, first consider what you’re hoping to create. A simple heart? A stack of tulips, or a classic rosetta? From simple designs to impressive swan patterns, thinking ahead will help you focus on the pour so you know what you’re hoping to achieve.
At the start, pour a little of the steamed milk into your freshly pulled shot of espresso and swirl gently so that the coffee and milk blend. With your cup held firmly in one hand, tilted toward the milk pitcher angled in the other hand, pour the steamed milk from a slight height, into the centre of the cup. Slow and steady is the key throughout. Don’t rush or be tempted to wiggle the milk jug too much. When you’re ready to create your latte art design, you’ll bring the milk pitcher closer to the coffee cup, almost skimming the surface of the coffee and milk blend, remembering to gradually straighten the cup. If you’re cutting through the pattern (such as a rosetta) to finish, be sure to bring your milk pitcher up a bit for a clean and precise line through your completed latte art. Practice makes perfect!

Micro-foam: How to achieve the desired texture
When it comes to creating micro-form in your steamed milk for your coffee, it’s all in the angle and depth of your steam wand in the milk pitcher.
Less air will create less micro-foam—this is how a flat white is created. More air will create more micro-foam—baristas look to create more when crafting a cappuccino. When you’re looking to create less micro-foam in your steamed milk, you will want to make sure the nozzle of the steam wand dips under the surface of the milk after just a few seconds when you first turn the steam wand on, going on to form a whirlpool motion with your milk until it’s at the desired temperature. When you’re looking to create more micro-foam in your steamed milk, you’ll want to have the nozzle of the steam wand slightly higher up, skirting the surface of the milk for longer, making that hissing sound, before raising the jug a little higher to dip the nozzle under the milk, adjusting the angle to create that whirlpool until you reach the desired temperature.

Timing techniques to prevent over-steaming
To prevent over-steaming your milk, concentration is key. Keep your countertop clean, have your coffee shot prepped, and pay attention to your sensory skills so you know when your steamed milk is ready.
Using a thermometer will help ensure you don’t over-steam your milk, which will result in a loss of that lovely micro-foam, and a poor taste. You can also help keep an eye on temperature by lightly holding the side of the milk pitcher with your free hand: if it’s too hot to the touch, you’re in danger of over-steaming.
As well as touch, sight plays an important role, along with hearing. Listen for the sounds coming from your steam wand and milk: that hissing sound at the start, as you ‘stretch’ the milk is the go-ahead for you to focus on the rising temperature, switching the angle of your milk pitcher when you’ve let enough time pass (just a few seconds for a flat white), looking for a whirlpool motion in your milk, which then allows you, again, to solely focus on the thermometer and heat-to-touch of the pitcher.

FAQs
Can you steam milk without a steamer?
Yes! While using a steam wand is the most popular and preferred way to steam milk for coffee, you can still steam milk at home without one. You can choose to gently heat your milk on a stove, whisking as it heats; place heated milk in a French Press, using the plunger to create foam, or look to buy a stand-alone milk frother for a similar effect.
Can you steam milk in the microwave?
Yes—but we’d advise caution. Use a lidded container to gently heat the milk in the microwave and then, making sure the lid is firmly in place, you can shake to create those bubbles. Microwaving to steam your milk is also not as easy to ensure you’re getting the right temperature for your milk.
What milk is best for cappuccino foam?
The key is the quality of the milk, whether you like traditional milk, or a non-dairy alternative. Full fat whole milk is often the most popular choice with professional baristas when opting for dairy, as the balance of fats, proteins, sugars, and water enable a good texture and taste when heated.
Why does my steamed milk have large bubbles?
When you first begin to steam your milk for coffee, you want to make sure to let a little bit of air in; this is called ‘stretching’ the milk, adding air into the milk to create micro-foam. If your steam wand nozzle is just touching the surface of your milk, rather than slightly submerged, it will make a loud, spattering noise, and create large bubbles. Practice finding the right angle and depth for the nozzle of the steam wand, listening out for a hissing sound: you only need to do this for a few seconds before adjusting the angle of the steam wand to then create a whirlpool motion, blending the micro-foam into the milk.
Can I steam non-dairy milk?
Definitely! Opt for a high-quality non-dairy alternative, and just as you would with regular milk, make sure it’s been kept in the fridge, and is in date. You will want to give your non-dairy milk a good shake before opening and pouring into your pitcher.